![koalify_rectangle_-3.png]](https://koalify.io/hs-fs/hubfs/koalify_rectangle_-3.png?width=50&height=50&name=koalify_rectangle_-3.png)
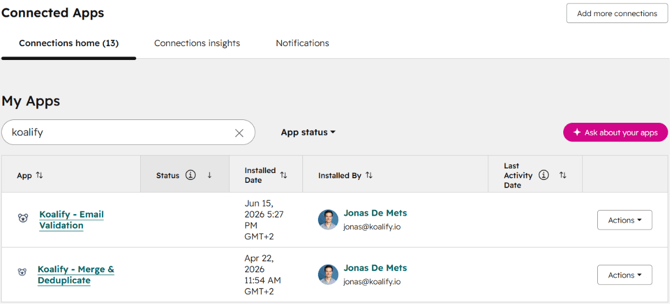
1. Navigate to the Koalify - Email Validation settings
- In your HubSpot account, click the ⚙️ settings icon in the main navigation bar
- In the left sidebar menu, go to Integrations > Connected Apps
- Search for and click Koalify – Email Validation
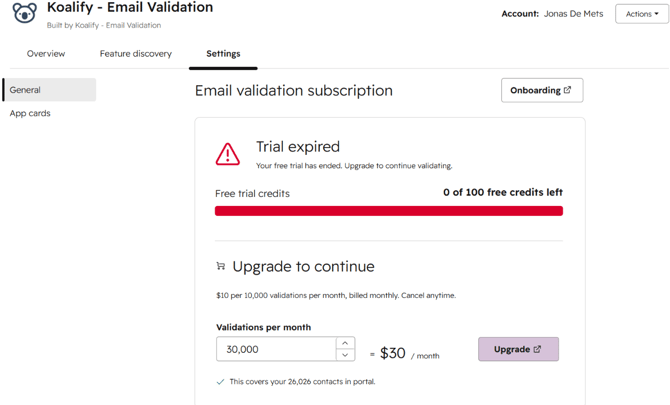
2. Upgrade Your Koalify - Email Validation Account
- Switch from the Overview tab to the Settings tab
- Choose the number of validation per month you need
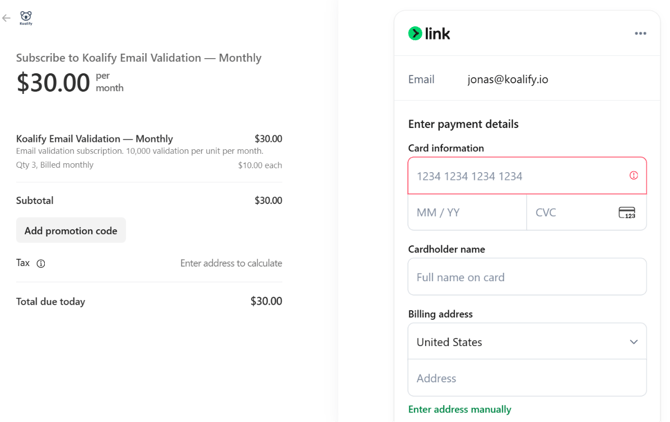
- Click Upgrade to continue via Stripe
You'll be redirected to a Stripe checkout page, which remains valid for 24 hours.
- Enter your Contact & Company Information and Payment Method
- If applicable, select I'm purchasing as a business and add your VAT number
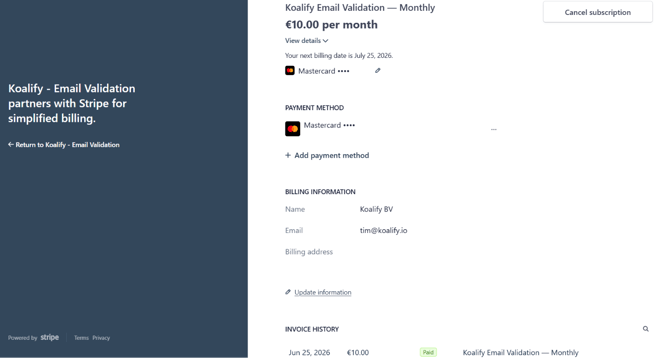
3. Managing Your Koalify - Email Validation Subscription
If you already have an active subscription, you can update your plan or payment details anytime from the Stripe billing page.
- Open the Koalify - Email Validation settings page in HubSpot
- Click Manage billing, invoices & cancellation
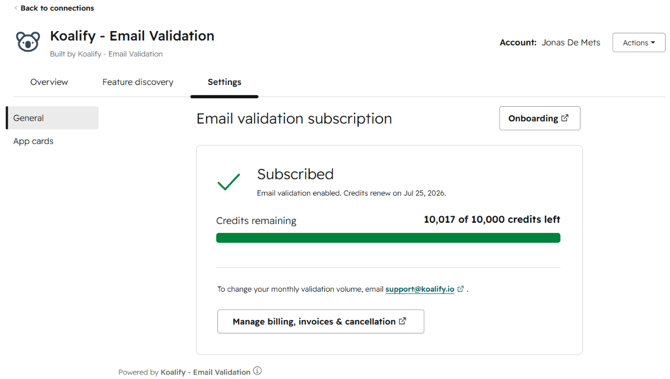
You'll be redirected to a Stripe billing page where you can manage the following:
- Cancel subscription: Please share your cancellation reason when cancelling
- Change payment method: Add a new payment method or update existing details
- Update billing information: Edit your billing or company details
- View your invoices: Access and download your past invoices